Yes, yes. I forgot.
That was after many life quakes, so I have a reason for getting off course. More like shipwrecked. I will try to remember to update this with a bit better cadence. Promise.

Yes, yes. I forgot.
That was after many life quakes, so I have a reason for getting off course. More like shipwrecked. I will try to remember to update this with a bit better cadence. Promise.


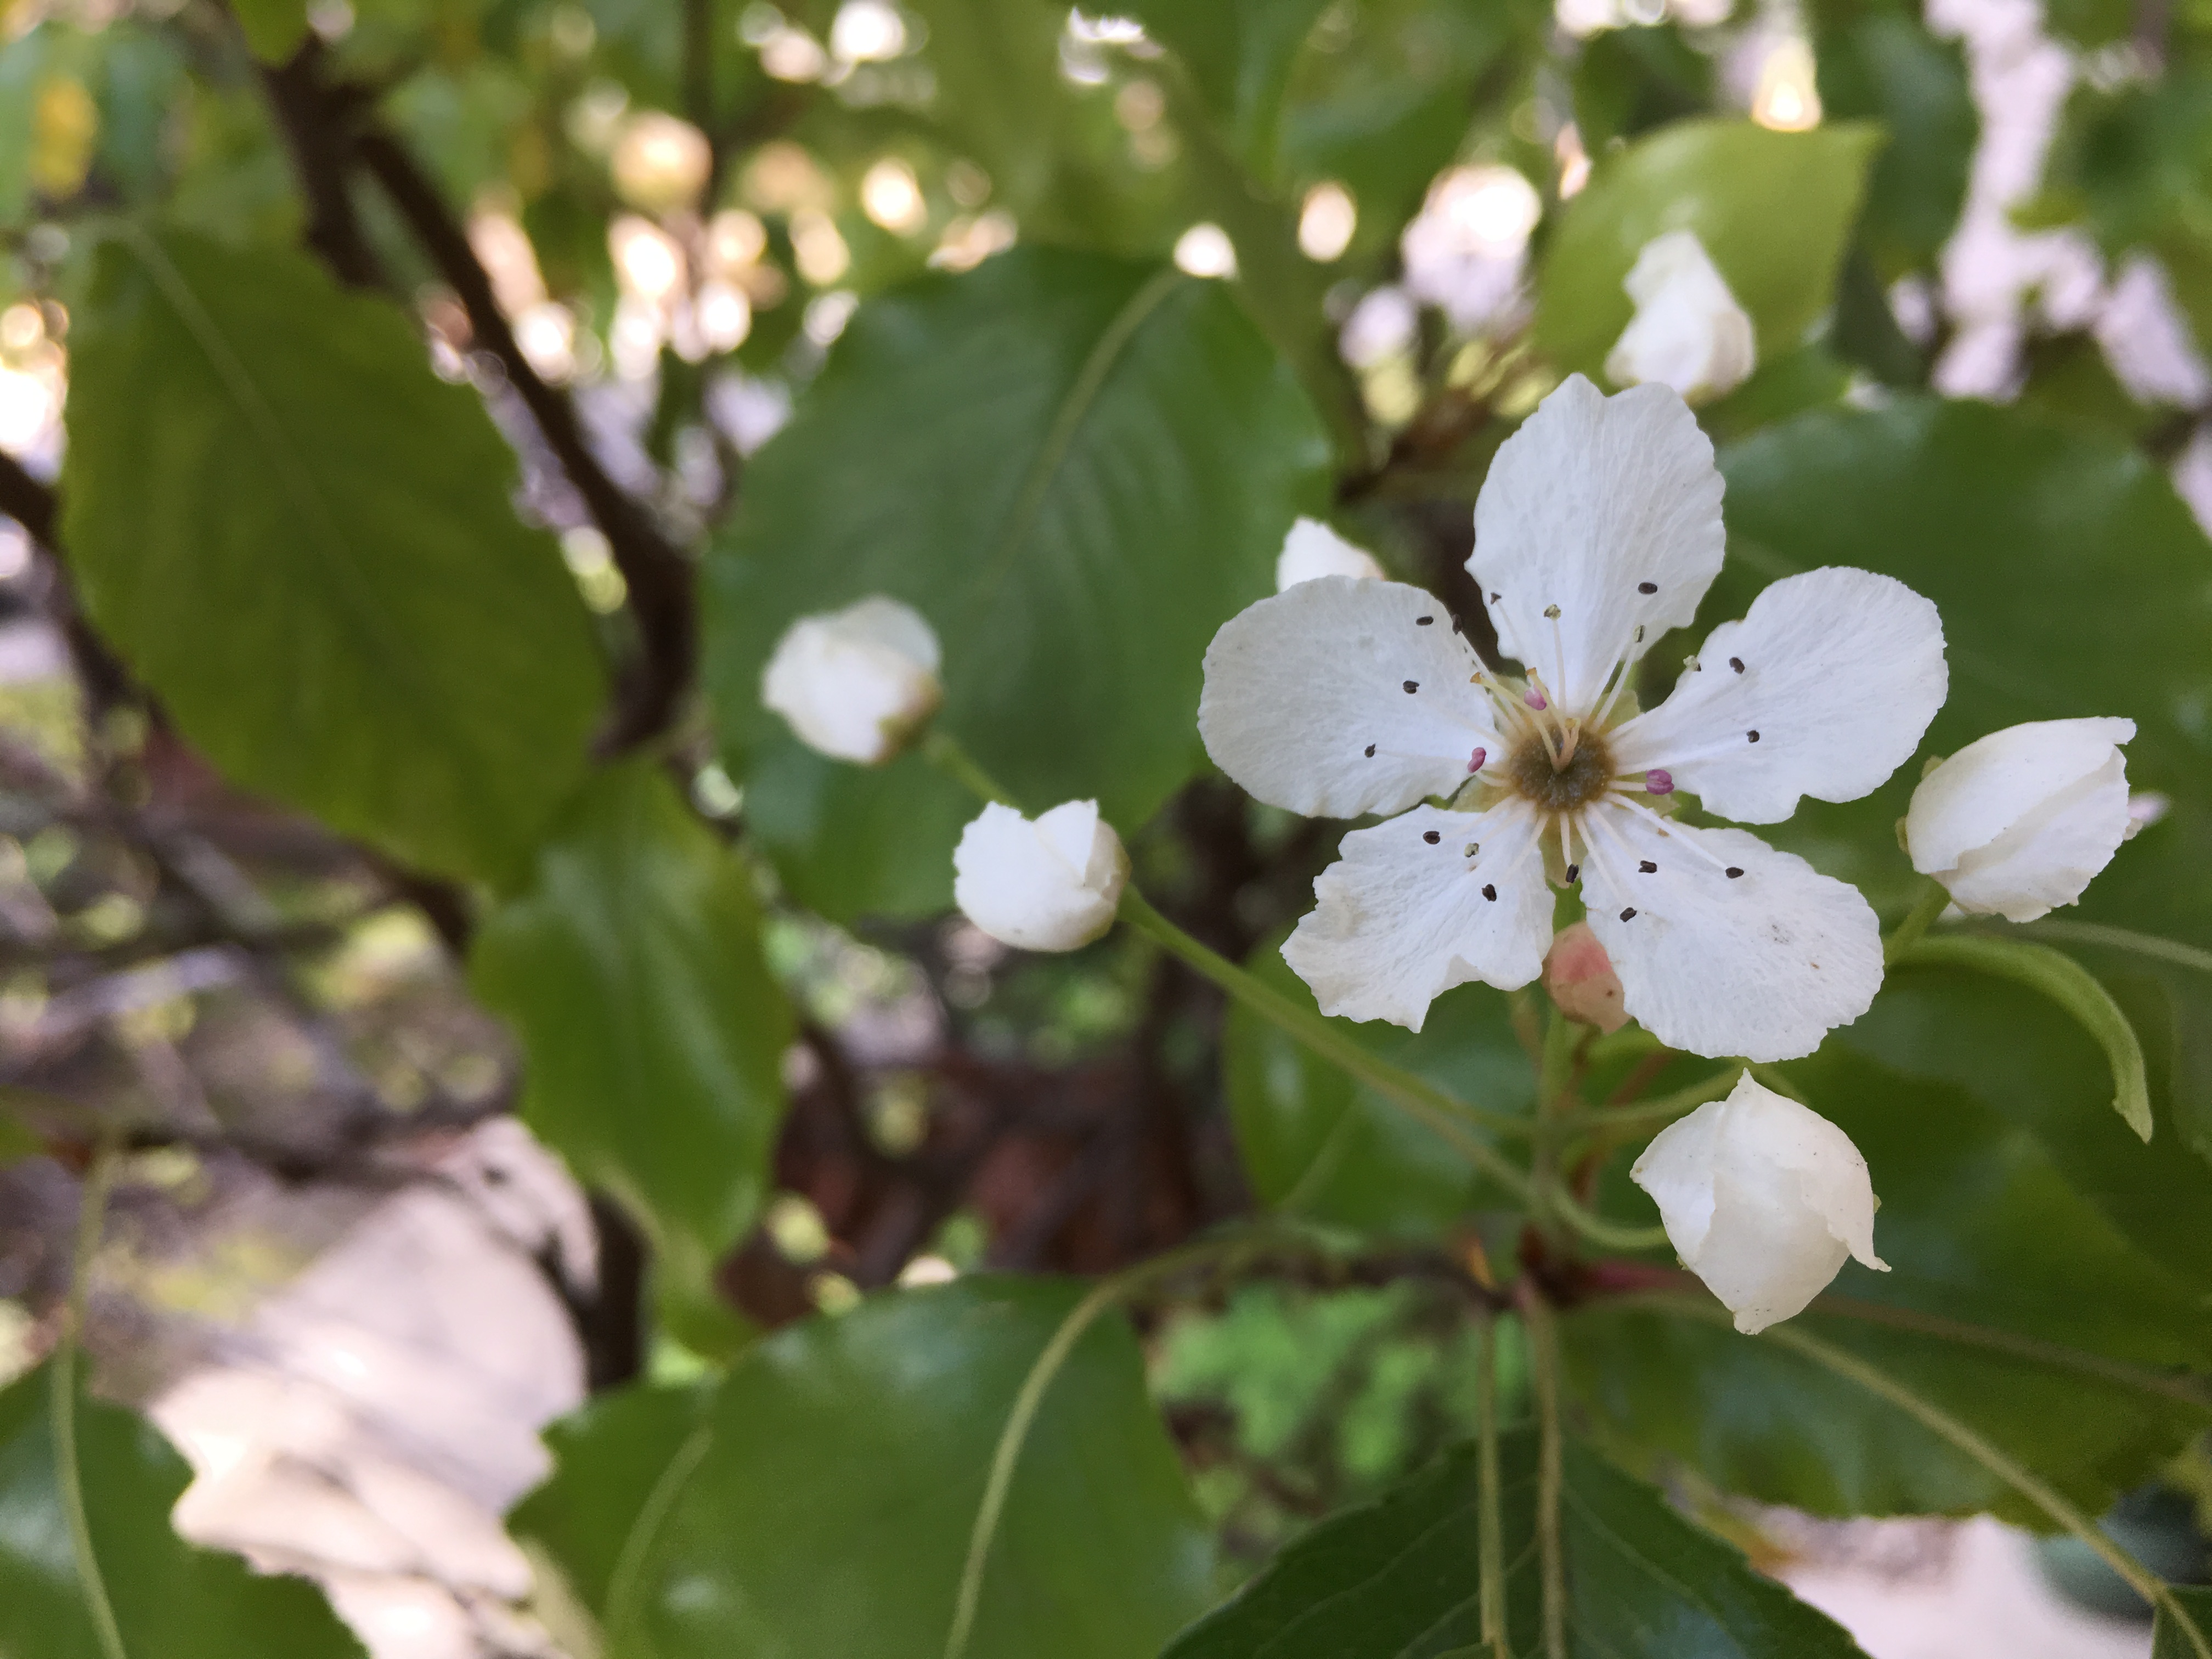
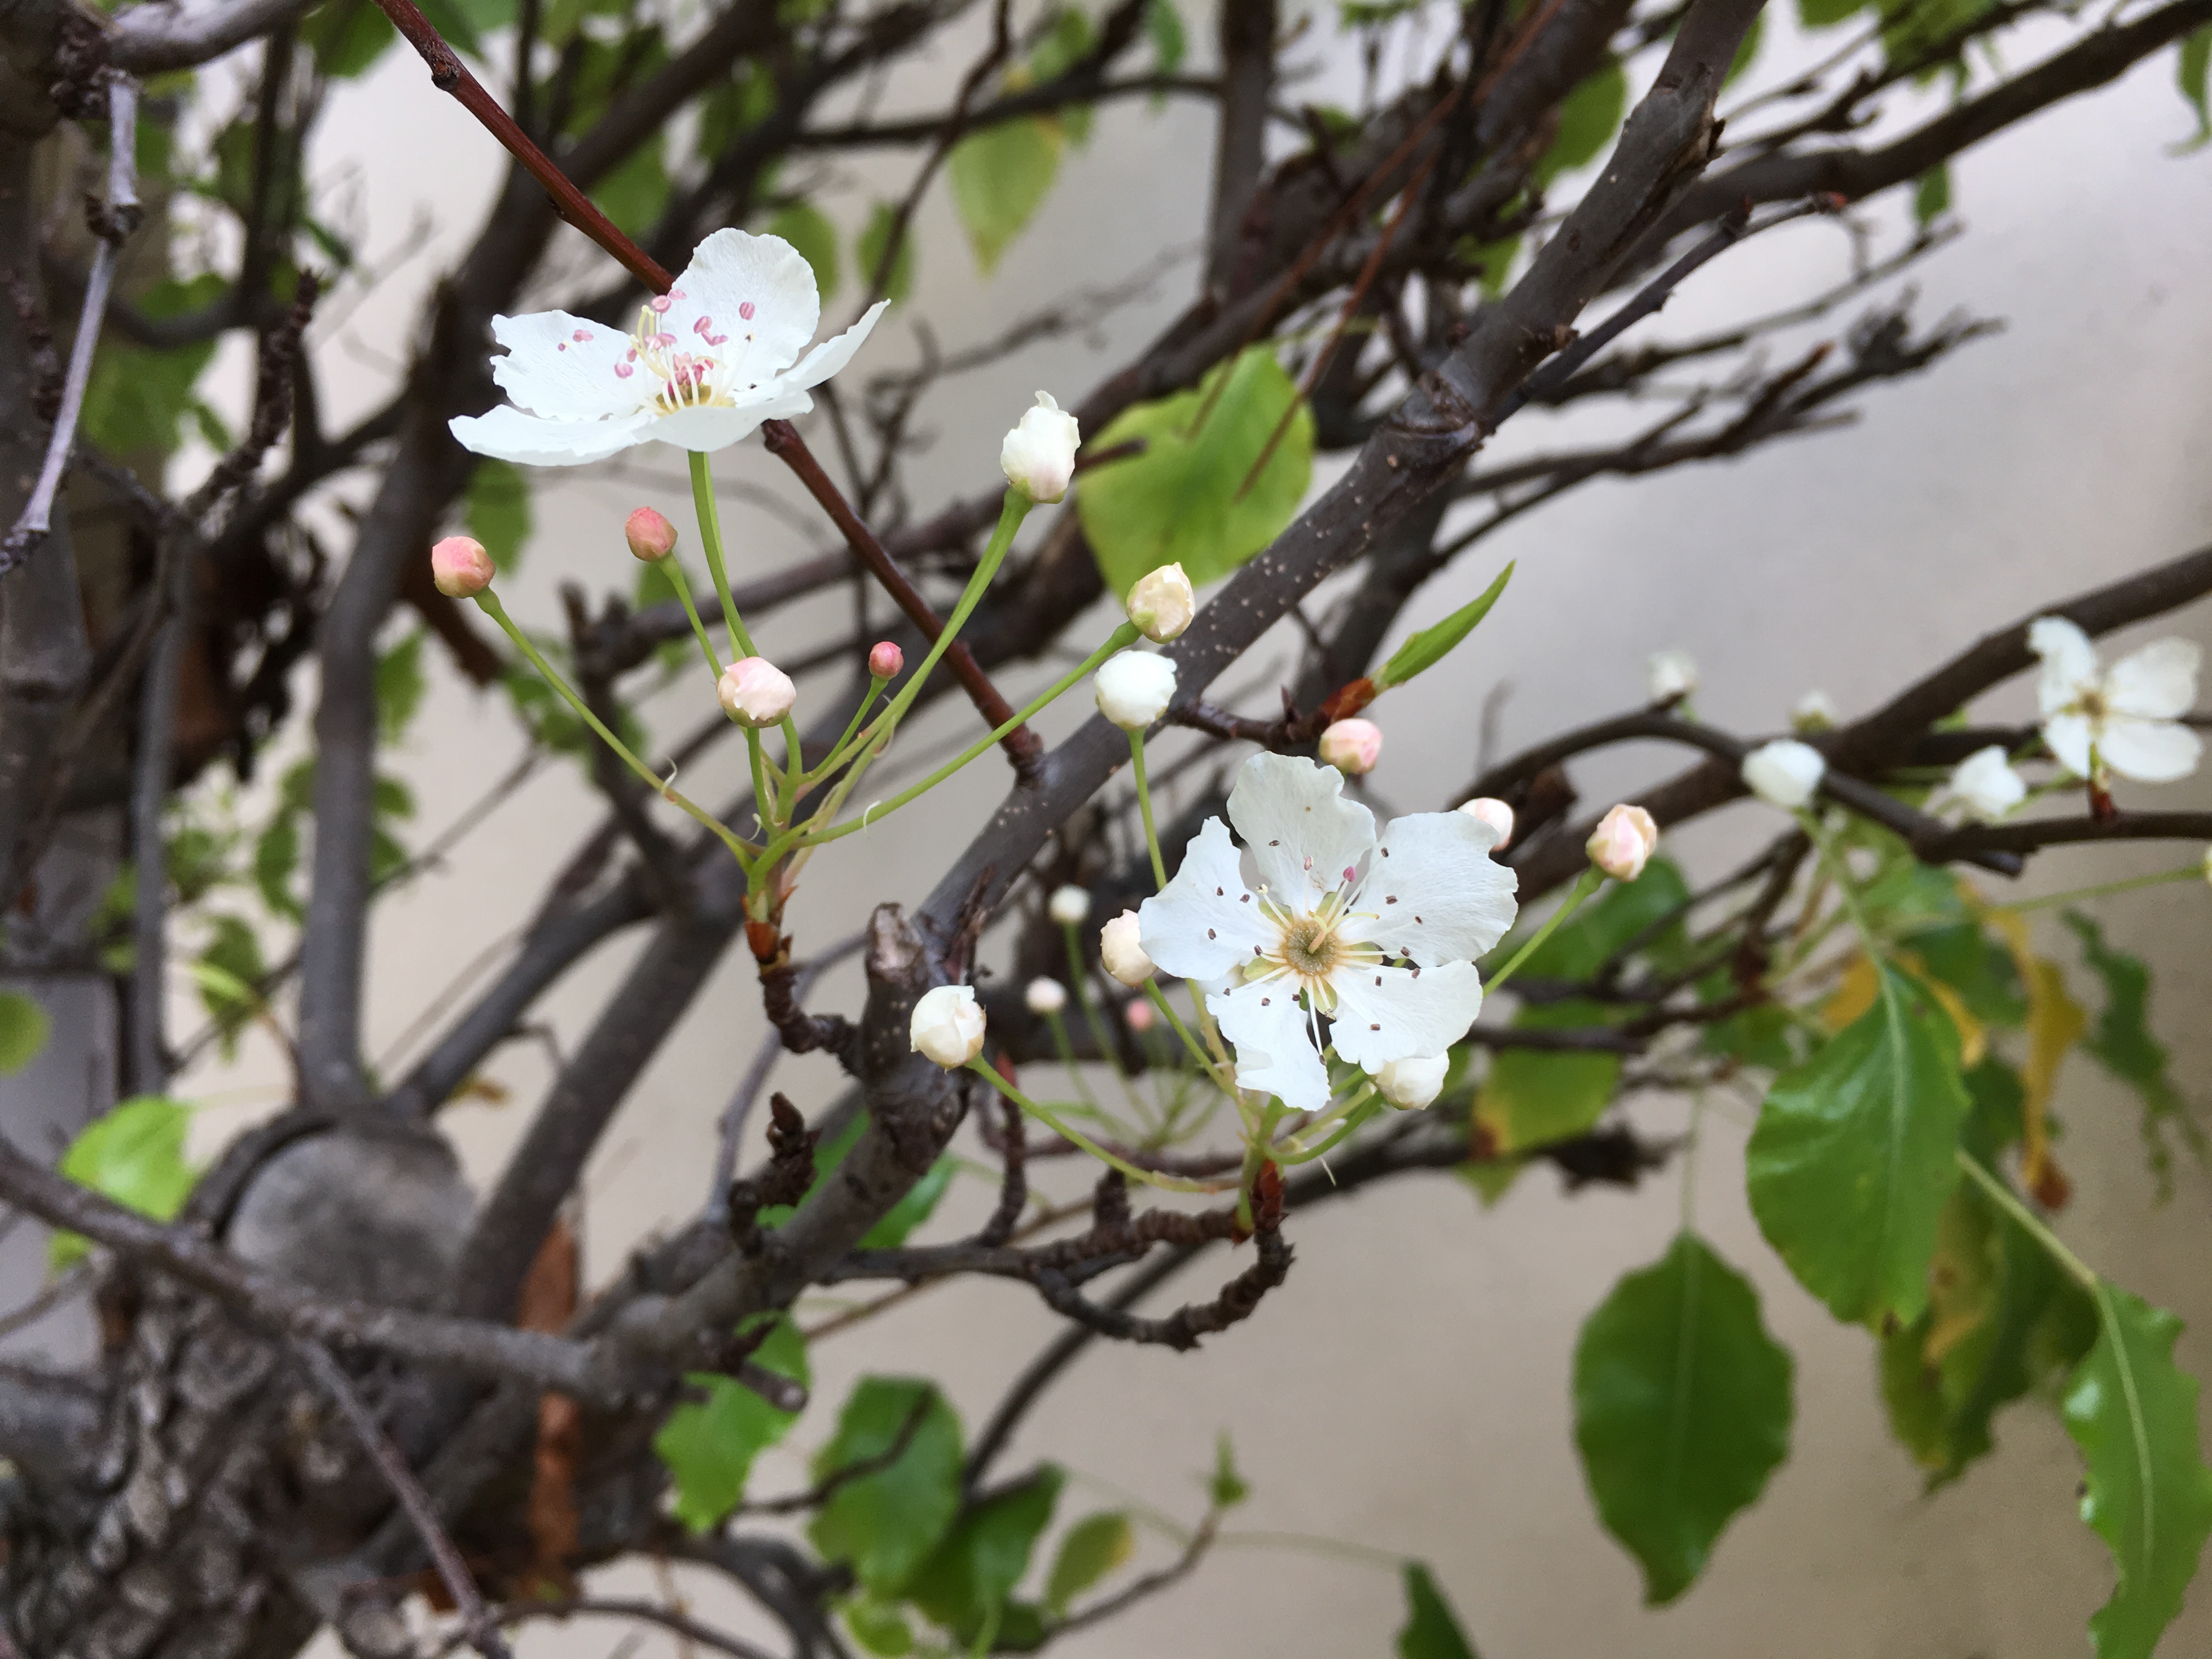
Walking by them, I thought they were bright leaves. Closer inspection revealed them to be bright green flowers.

Happy Green Day.
This was so fast to finish that I feel like I cheated.

This patchwork design is not what I originally planned. I was going to do a swoosh up from the corner with a second gray fabric, but went with this instead. To cut and sew the curvy patchwork, I refreshed my memory using this video.

This is how I originally laid out and cut the fabric. I am not sure which direction I prefer.
If you recognize the fabrics and colors from March of last year, this is another birthday gift for the same recipient.
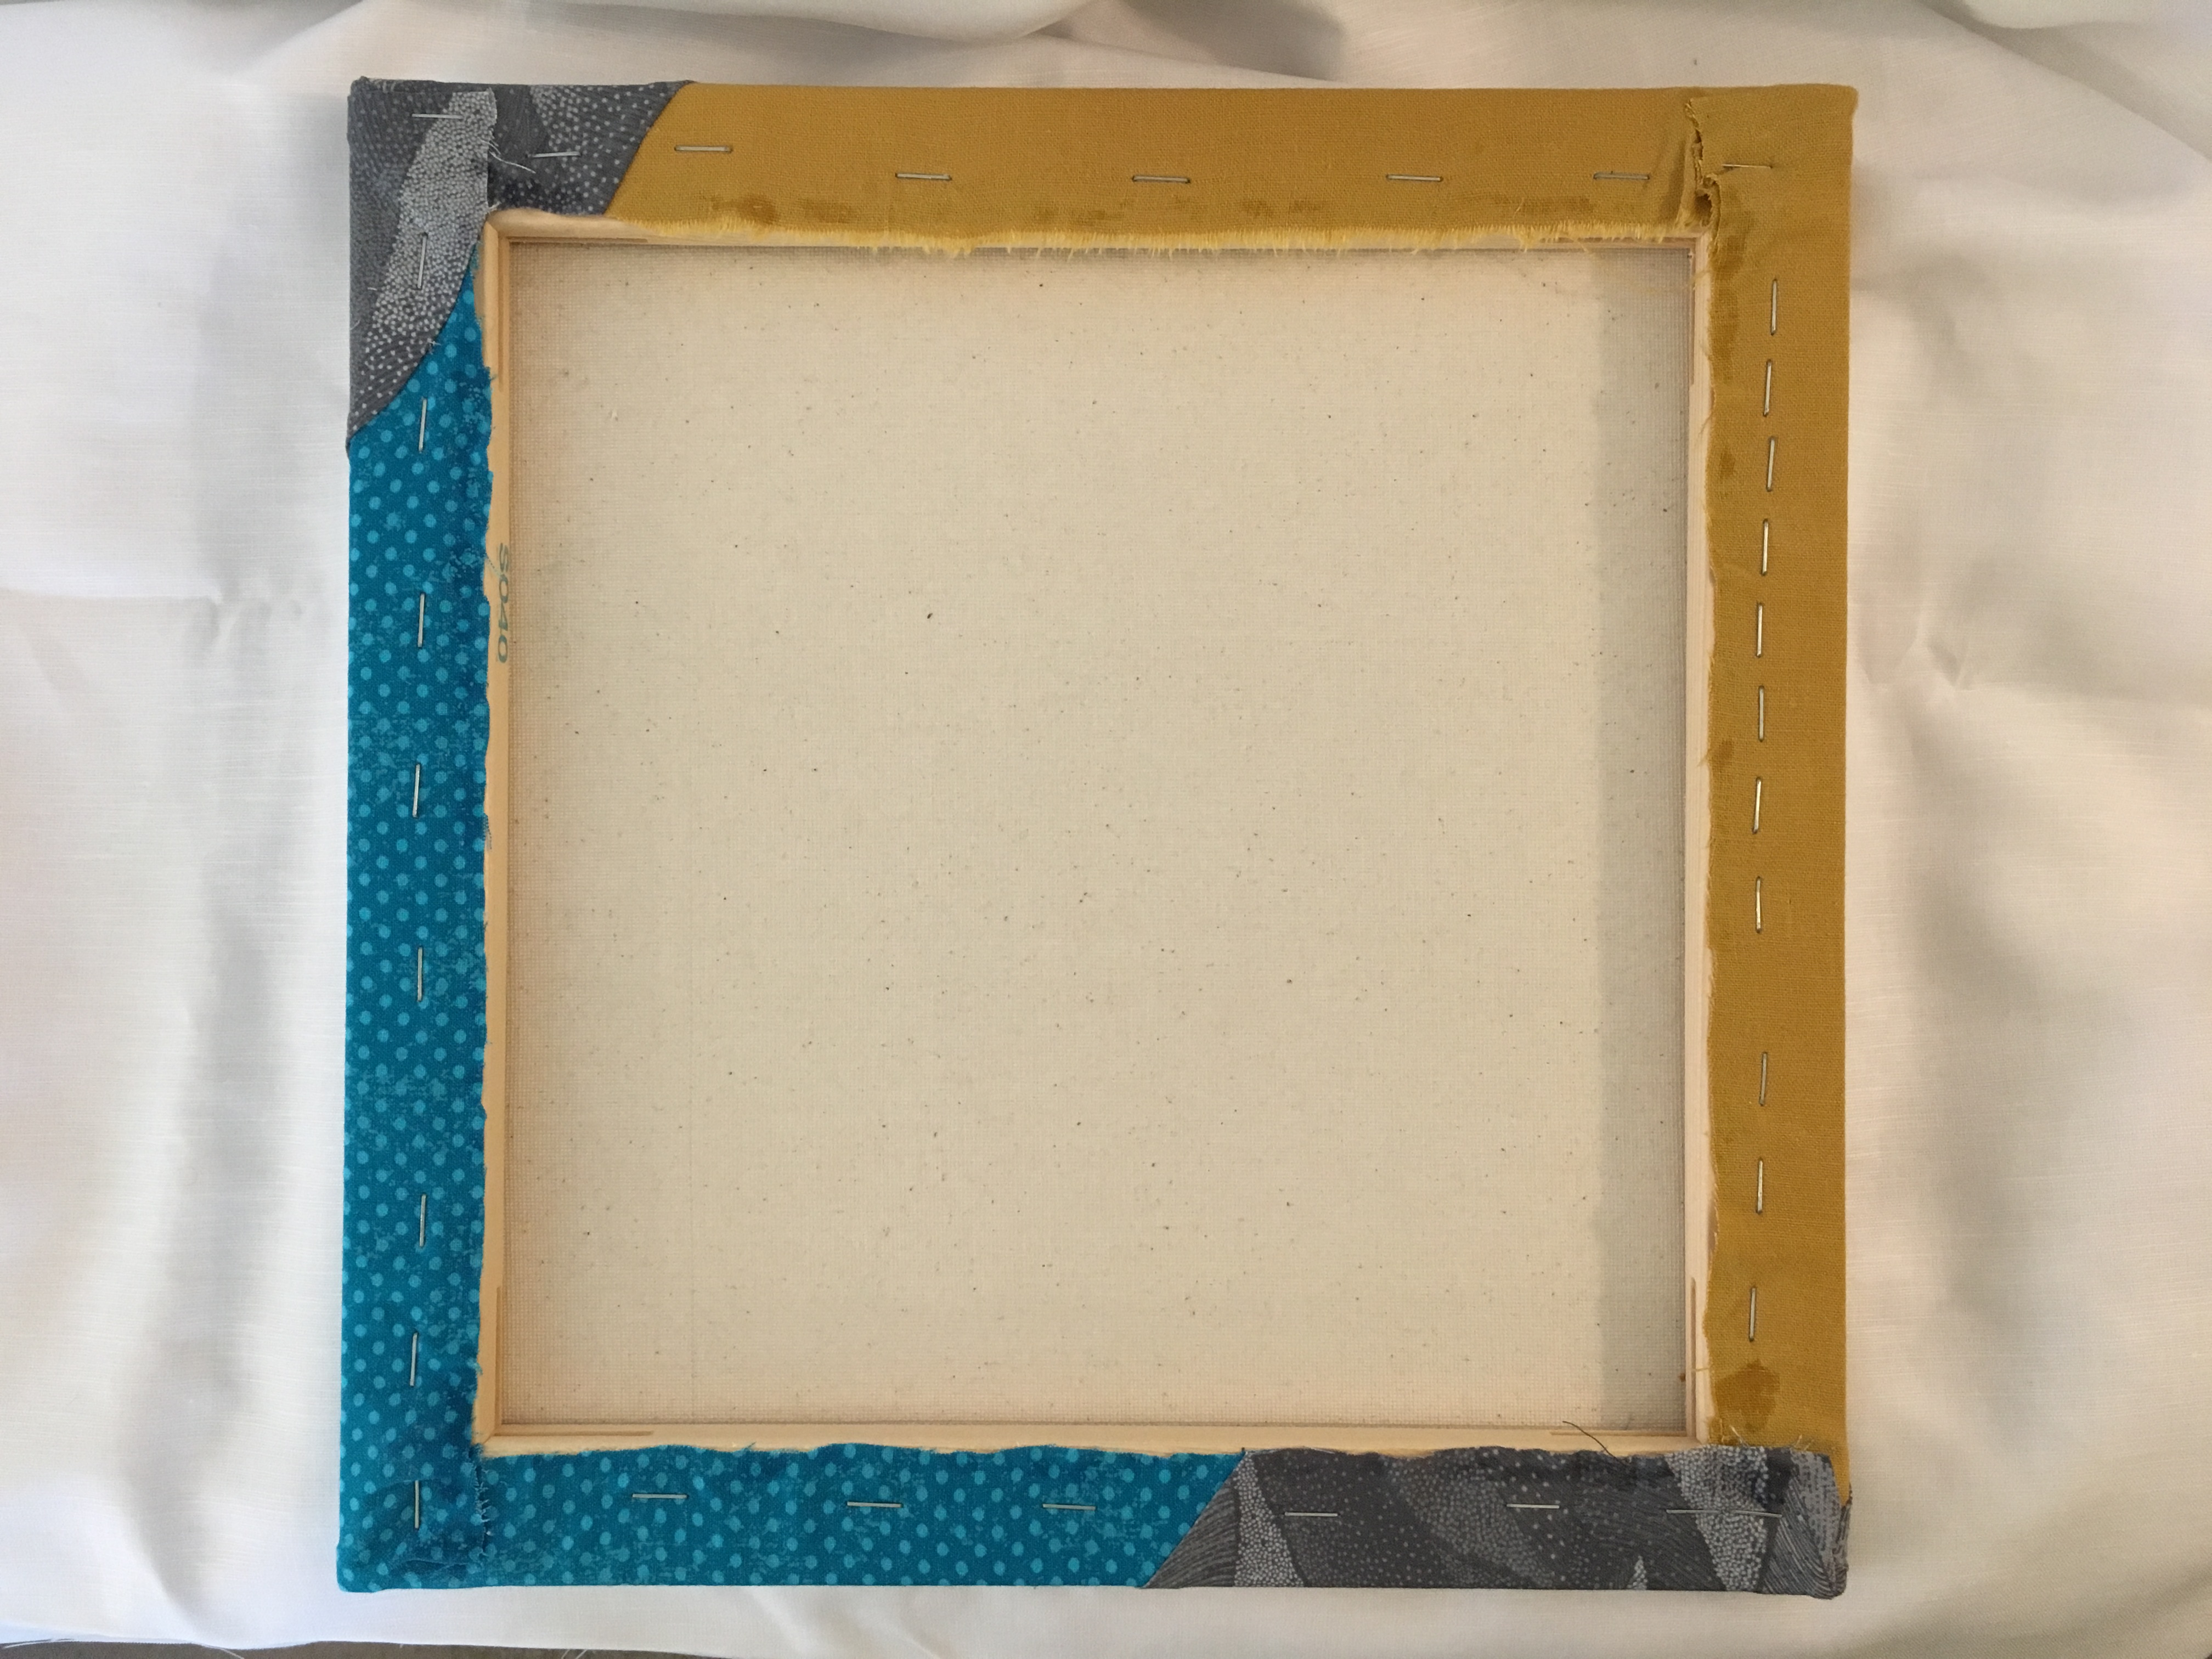
Did I forget to mention this is my first time ever doing this? It really shows on the back. I need to learn how to make this tidier. The mustard fabric got extra staples because it is a less stable fabric than the teal and gray. I glued the fabrics raw edges down as well.

I am also working on very neat corners. They gave me a tiny bit of trouble, especially on the back. But, this was good practice as I will be making a covered headboard soon and want as close to professional results as I can get.
This was so fast from start to finish; I don’t know what happened. I am not used to projects I can finish in hours instead of weeks or months. I am definitely going to have to work more of these quickies in for sanity’s sake. And I have six more 12″ X 12″ canvases and five 16″ X 20″ to play with!

My first attempt at locker hooking, a surprisingly addicting activity.

I learned a thing or two, mostly with the help of Google and YouTube, not from the “official” book. This is an excellent stash busting activity. This one was mostly torn strips, but I started rotary cutting them toward the end.

Seal of approval!
Sort of.

This is for tying/knotting quilts. 100% wool, so it should full up into little pom pom balls very nicely. I saw this and was completely in love. I have never liked the little tails on most tied quilts, but the little poof balls? LOVE!
There is a small stack of lumber leaning in a corner behind me. It is to replicate one of these. Once done, I can not only do International/hidden stitch tying (with perle cotton, not wool) but hand quilting, too. Technically, I can do my wooly vision of regular tied quilts on the craft table, but reaching the middle would be extremely difficult.
Full disclosure: I am a bit hardcore about some of my DIY projects. This will not be my first woodworking adventure involving power tools while living in an apartment and I am sure it will not be my last. Aside from the lumber, the only other purchases were suitable wood screws, a chisel, and sand paper. My father was a cabinet maker and I grew up around woodworking. It is something I strongly gravitate to; if only I had a house I could put a Norm Abram-type shop in! (Like I need another $$$ hobby LOL)
(start rant) I have a nicely stocked tool cabinet that no amount KonMari-ing is going to get me to let go of. If you have read Spark Joy, you may recall she says to chuck your tools and use other objects in their place. As an OSHA brat, the safety of correctly using the right tool for the job means more to me than pretty minimlism. #safetyfirst (end rant)
I have some utility sewing to do and I have procrastinated myself into a bind. It is laundry day, my laundry cart liner is in tatters, and the fabric to replace it is partially cut and taking up valuable real estate on the cutting table. Is there a Procrastinators Anonymous I should look into?


For lack of a better title.
This was a vacation day filled with errands and appointments.
First was the medical appointment in which my doctor ordered me to do my crafts for at least 3 hours a day as a part of my stress management plan. I doubt I have to tell you how much this has endeared me to my doctor.

I think I have been happily working on my kitchen rug for the past 3+ hours. I have been at it long enough that my fingers are sore. It will take many more hours to complete and I am enjoying the process.
Sadly, my day job includes a commute that should be about 2-1/2 hours a day. Typically, it is 3-1/2 hours because there are always problems on the trains. So crafting after work usually means missing much needed sleep.
Rock, meet Hard Place. I’ll be here in the middle trying to sort this out.
I also took my new-to-me car for a minor repair and treated myself to a pizza lunch.

It tasted better than it looks. Shockingly so. I can now confirm that brussels sprouts are crazy yummy on pizza. The balance is roasted garlic, black olives, mushrooms, and dairy free-cheese. I would plug the restaurant, but they got a solid “F” on customer service.
Best. Desktop. Ever.

I revised this layout slightly.

It was a good day.


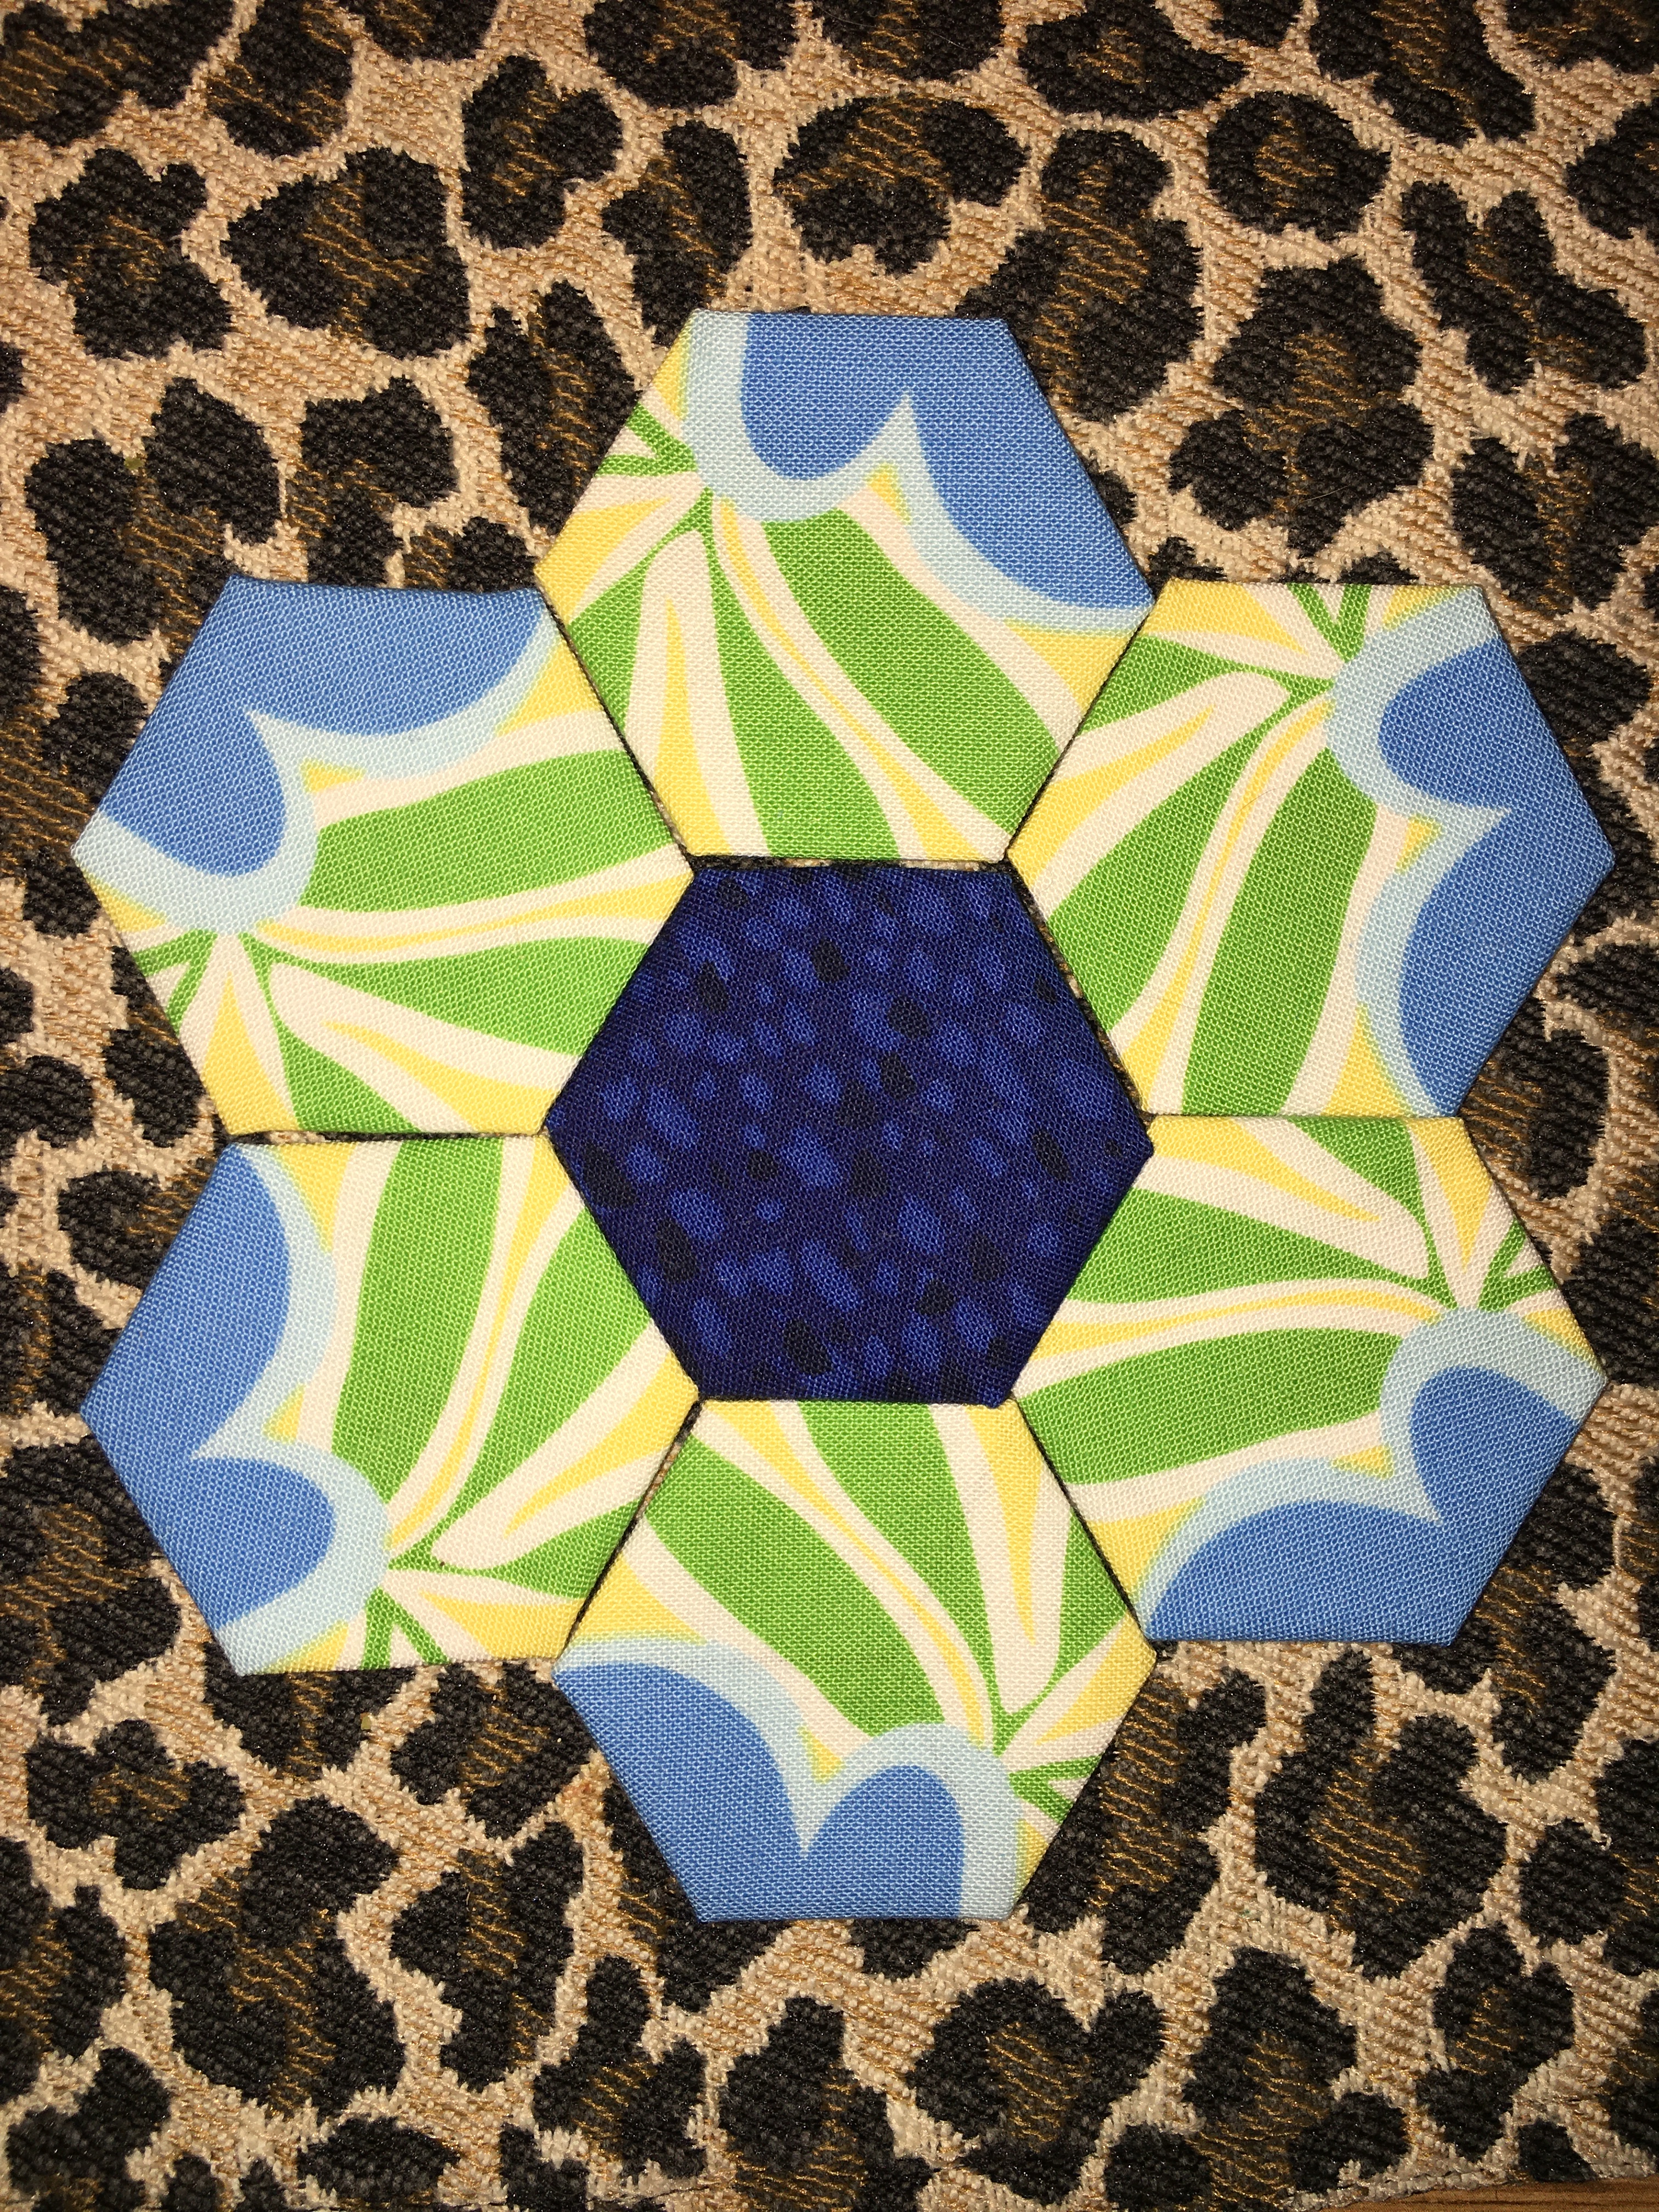
I definitely learned a few things about this technique. I am not a fan of the stitching that shows on the back. For something this small, the hand sewn version would have been better.
I considered making the binding as wide as the sashing after I cut it. In other words, too late to change my mind. I also hit the dreaded seam in the binding at a corner. Yippee!
All in all, it was a fun project and I hope the recipent likes it.
This came to mind while I was pressing it and berating myself for my less than perfect seams and corners: Wonky = Wuv*
*wuv, luv, love
Creative Alchemist
designer | writer | teacher | maker
We offer educational events to bring together crafters and world-class experts in unique locations.
little house in a field
A life of crochet, crafts, gardening, cats and lots more!
Curation of antique, vintage, modern, and one-of-a-kind (OOAK) Black dolls
vegan - feel good food - healthy - tasty - simple - wholefood - travel - fresh - local - home cooked happiness
Needle, Thread, Bead and Paws
make it better
Crafter, Collector, Cat Staff
Be nice. Be green. Be kitschig.
What I saw, What I Heard, What I Felt
When I'm not complaining, I sew....
My adventures in Quilting and Gardening
think globally, craft locally
Korean patchwork
poetry, ponderings and play
"Pay attention to the world." -- Susan Sontag
A world of film, a house of stuff.
